A private network is an emulation of a local network between VPS/VDS on one account. You can interact with it just like a local network between your devices.
When adding a VPS to a private network, the server is allocated an IP address from the 10.16.0.0/16 subnet, by which the server is identified within the private network. Each server is allocated only one address. When you remove a server from a private network and add it back, the server's private IP address remains the same.
The data transfer rate within private networking is 1 GB/sec. The channel is shared between all data streams in the private network.
Advantages of a private network:
- The speed of data exchange within a private network is higher than through an external network.
- The private IP address of the VPS is not accessible from the outside. You can disconnect the server from external networks. This simplifies the task of monitoring data and ensuring its security.
- Thanks to a private network, you can host a project on multiple servers, thereby increasing its fault tolerance.
Restrictions of a private network:
- Broadcast and multicast traffic are prohibited.
- Private networks can only be created within a single account.
- Only one private network can be created per account.
Here are some examples of using a private network:
- MySQL replication (synchronizing databases between multiple servers to ensure database fault tolerance and improve data reading performance);
- Migrate MySQL to a separate server (to relieve the MySQL server by allocating a separate machine for it);
- Database sharding (distribution of parts of the database between different servers);
- Load balancing on the website (to ensure the fastest server response by choosing the least loaded instance).
How to Connect a VPS to Private Networks
- Go to your Account Control Panel.
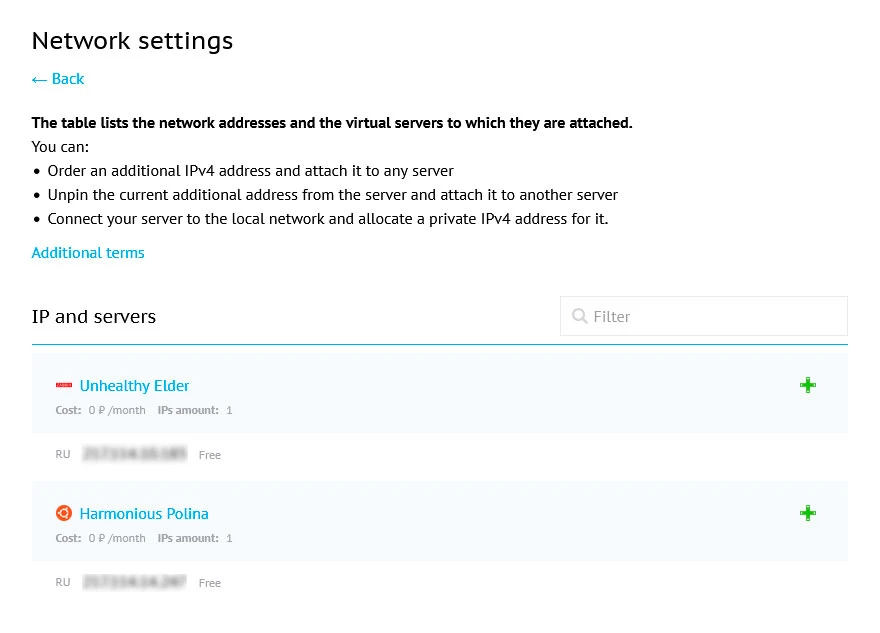
- Go to the Network Settings section.
- A list of VPSs available on the account will open. The gray lines contain the names of the servers and icons of the operating systems installed on them. The white lines below them contain the IP addresses associated with the server.
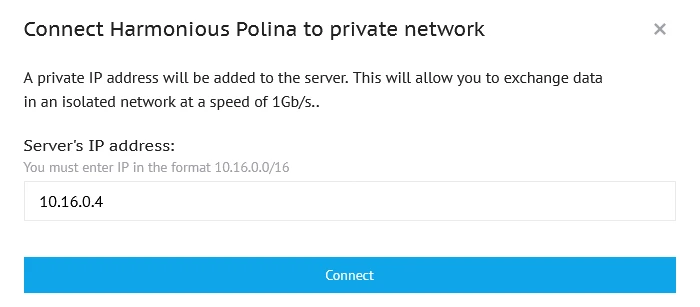
- To add a server to a private network, click the
icon next to it and select "Connect server to private network" from the drop-down list. A connection warning will appear.
- Click "Connect".
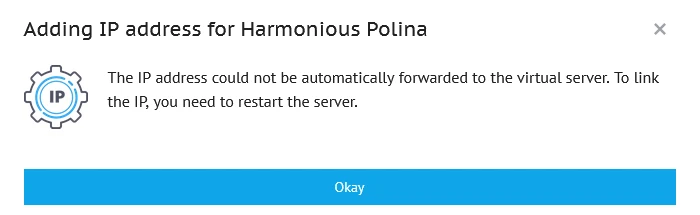
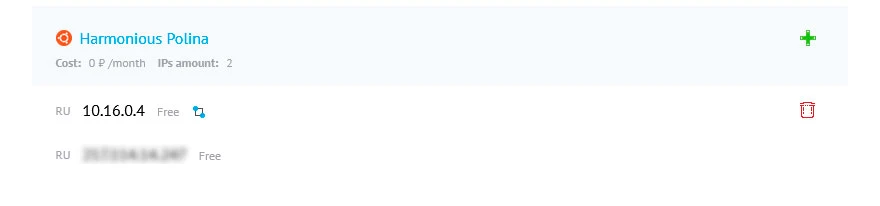
- In the network settings table for the selected server, a line will be added with an assigned IP address of the form 10.16.0.X and a corresponding icon . The server will be accessible from this IP address on the private network.
- To add other VPS to the private network, you need to repeat the above steps for them.
- Ready!
If you now have two or more servers on your private network, you can test the private network using the ping utility.
Let's designate two servers located in the local network as Server1 and Server2.
- Find out the private IP of Server2 using any of the methods described above.
- Connect via SSH to Server1 using the external IP address. This process is described in more detail in our article.
Enter the command ping <IP ofServer2>:
[root@centos ~]# ping 10.16.0.2After configuring a private network, you will see lines like this:
64 bytes from 10.16.0.2: icmp_seq=1 ttl=64 time=1.10 msAfter 5–10 lines appear, you can press Ctrl+C in the terminal to interrupt the packet transmission.
If setting up the private network has been successful, the final output will look like this:
[root@centos ~]# ping 10.16.0.2
PING 10.16.0.2 (10.16.0.2) 56(84) bytes of data.
64 bytes from 10.16.0.2: icmp_seq=1 ttl=64 time=1.10 ms
64 bytes from 10.16.0.2: icmp_seq=2 ttl=64 time=0.689 ms
64 bytes from 10.16.0.2: icmp_seq=3 ttl=64 time=0.423 ms
64 bytes from 10.16.0.2: icmp_seq=4 ttl=64 time=0.466 ms
64 bytes from 10.16.0.2: icmp_seq=5 ttl=64 time=0.514 ms
64 bytes from 10.16.0.2: icmp_seq=6 ttl=64 time=0.519 ms
64 bytes from 10.16.0.2: icmp_seq=7 ttl=64 time=0.409 ms
^C
--- 10.16.0.2 ping statistics --- 7 packets transmitted, 7 received, 0% packet loss, time 6157ms
rtt min/avg/max/mdev = 0.409/0.589/1.104/0.227 ms
[root@centos ~]#
How to Disconnect VPS from a Private Network
- Go to your Account Control Panel.
- Go to the Network Settings section.
- You will see a list of VPS available in your account. The gray lines indicate the names of the servers and icons of the operating systems installed on them. The white lines below them represent the IP addresses associated with the server. Addresses like 10.16.0.X are VPS addresses in the private network, marked with the corresponding icon
.
- Click the
icon next to the private IP of the server you want to disconnect from the private network.
- Confirm the deletion of the IP address in the window that appears by clicking the "Delete" button.
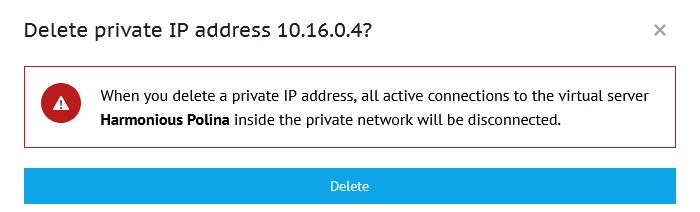
Ready! You have successfully removed your VPS from the private network. Removing a server from a private network does not delete the VPS itself and does not affect its connections to external networks.
If you have any questions, please write us a ticket from your account control panel (“Support” section), and if you want to discuss this article or our products with colleagues in the industry and Beget Cloud employees, we are waiting for you in our Telegram community.