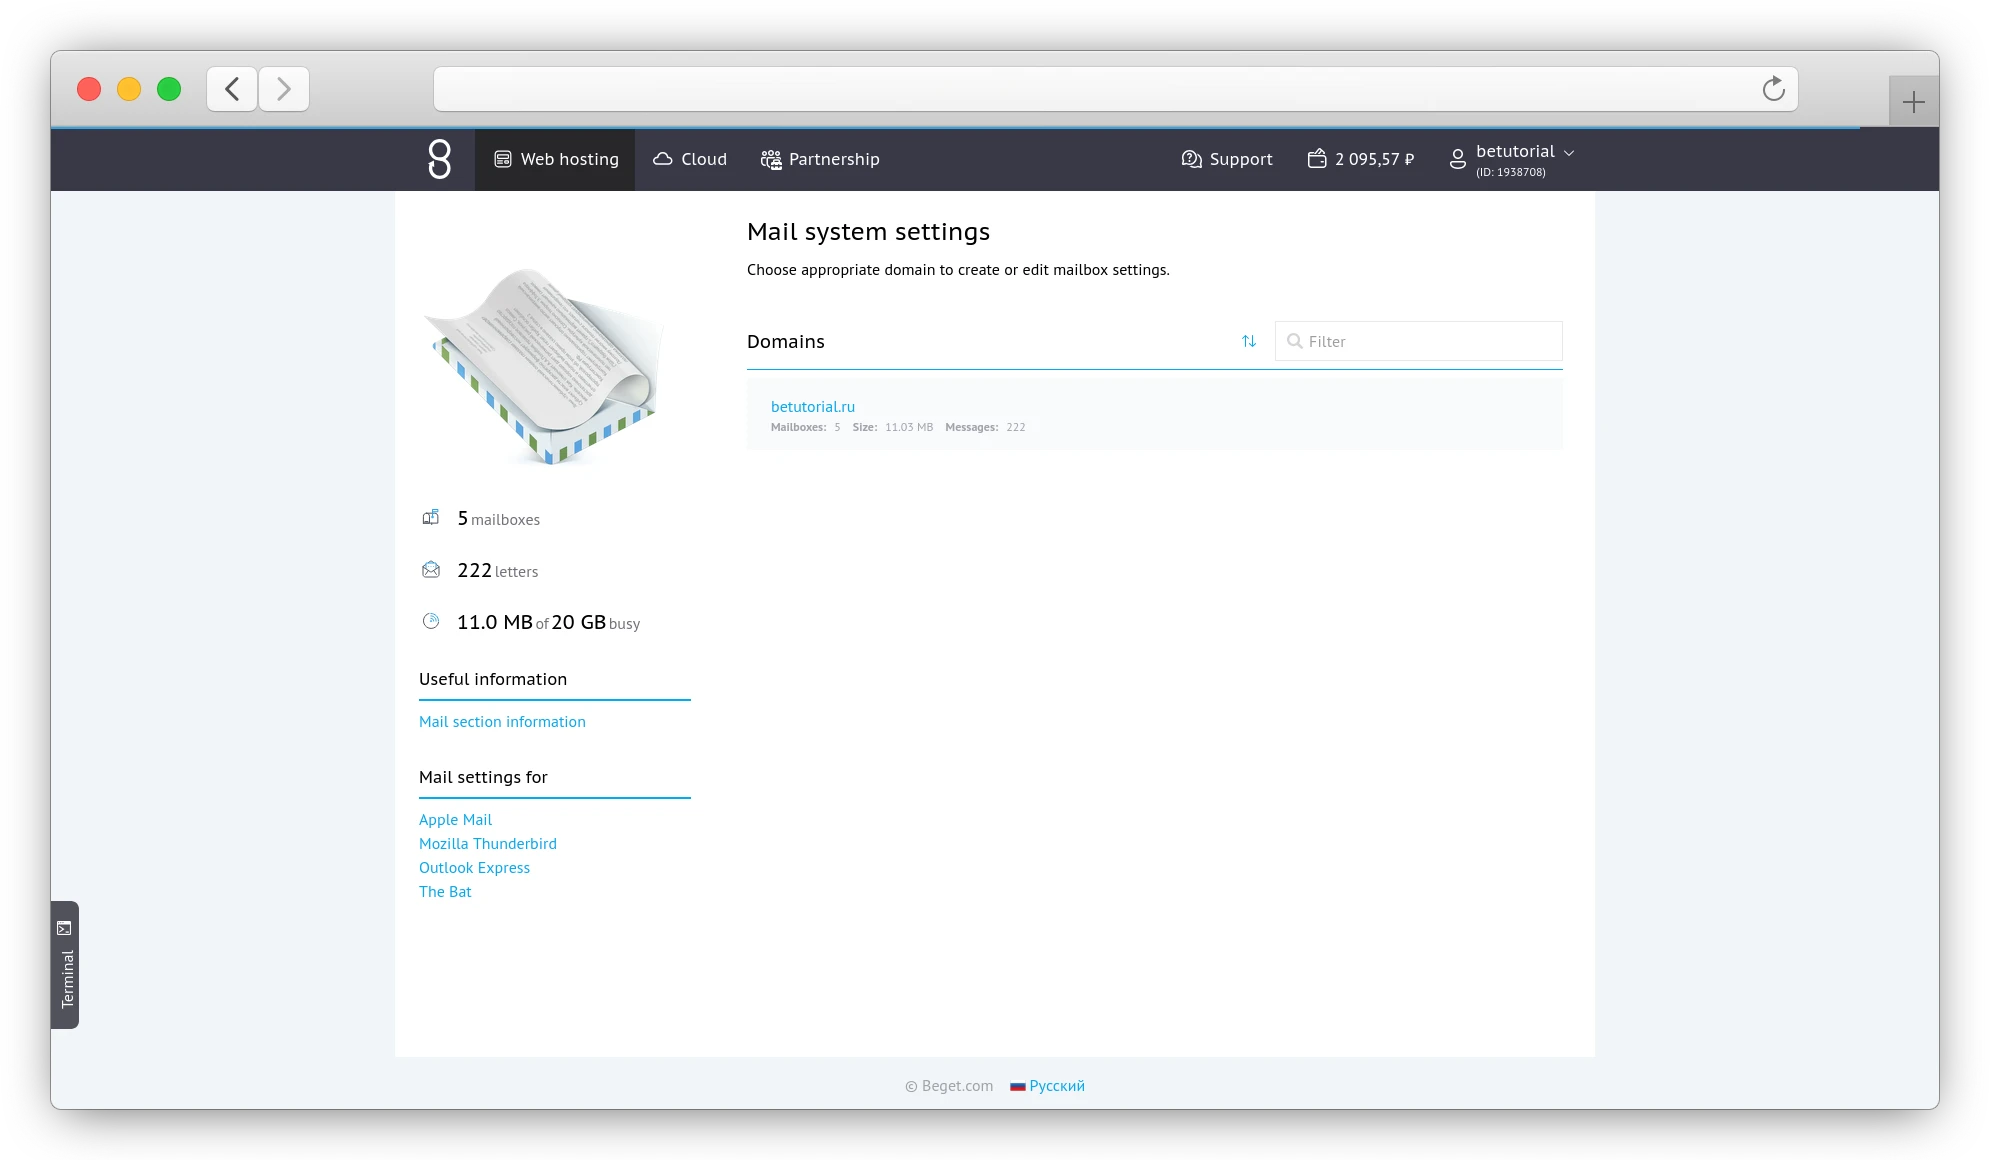
In the Mail section of the control panel you can create and delete mailboxes for all domain names on your account, excluding technical domains, set up a catch-all mailbox, change spam filtering settings and set up email forwarding.
To start, choose the desired domain name from the list.
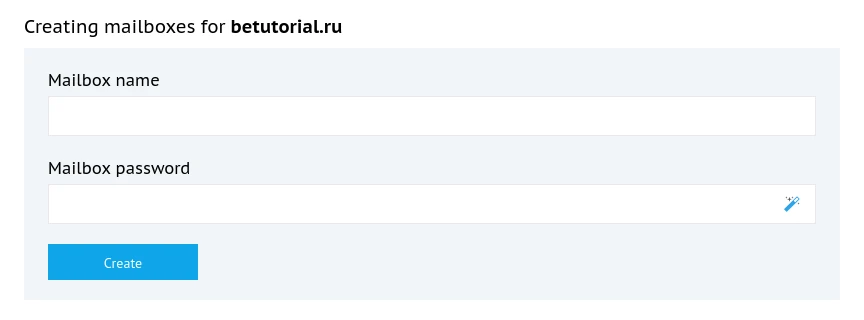
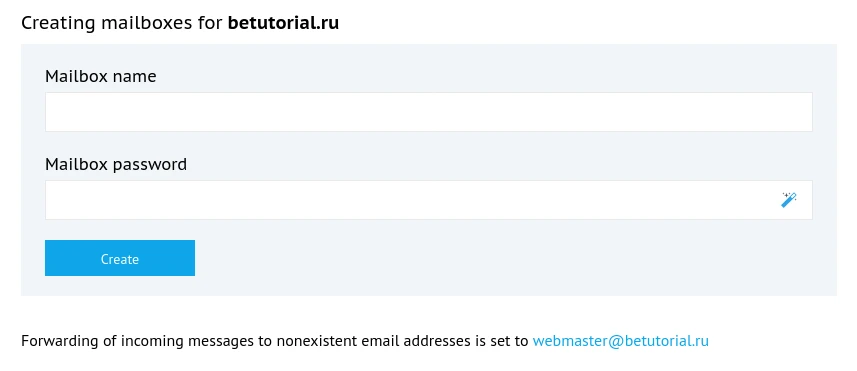
Creating a mailbox
To create a new mailbox, enter the desired mailbox name (only the part before the @ symbol) and password. For instance, to create a mailbox example@betutorial.ru, enter example into the “Mailbox name” field. If necessary, you can generate a random password by pressing the button.
The created mailbox will appear in the list below. On the mailbox card, you can also see the amount of messages in the mailbox, as well as the disk quota used by the mailbox.
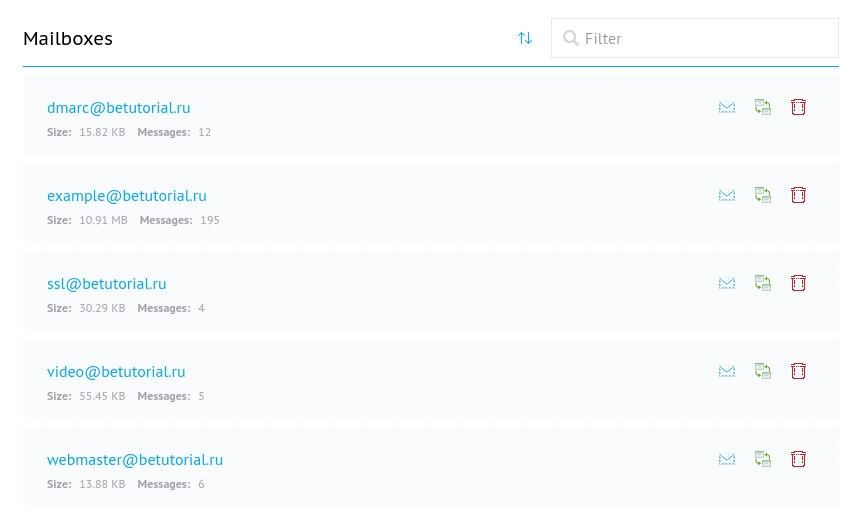
The buttons on the right side of the mailbox card allow you to:
– Open the mailbox in the web client.
– Set up mailbox sync.
– Delete the mailbox.
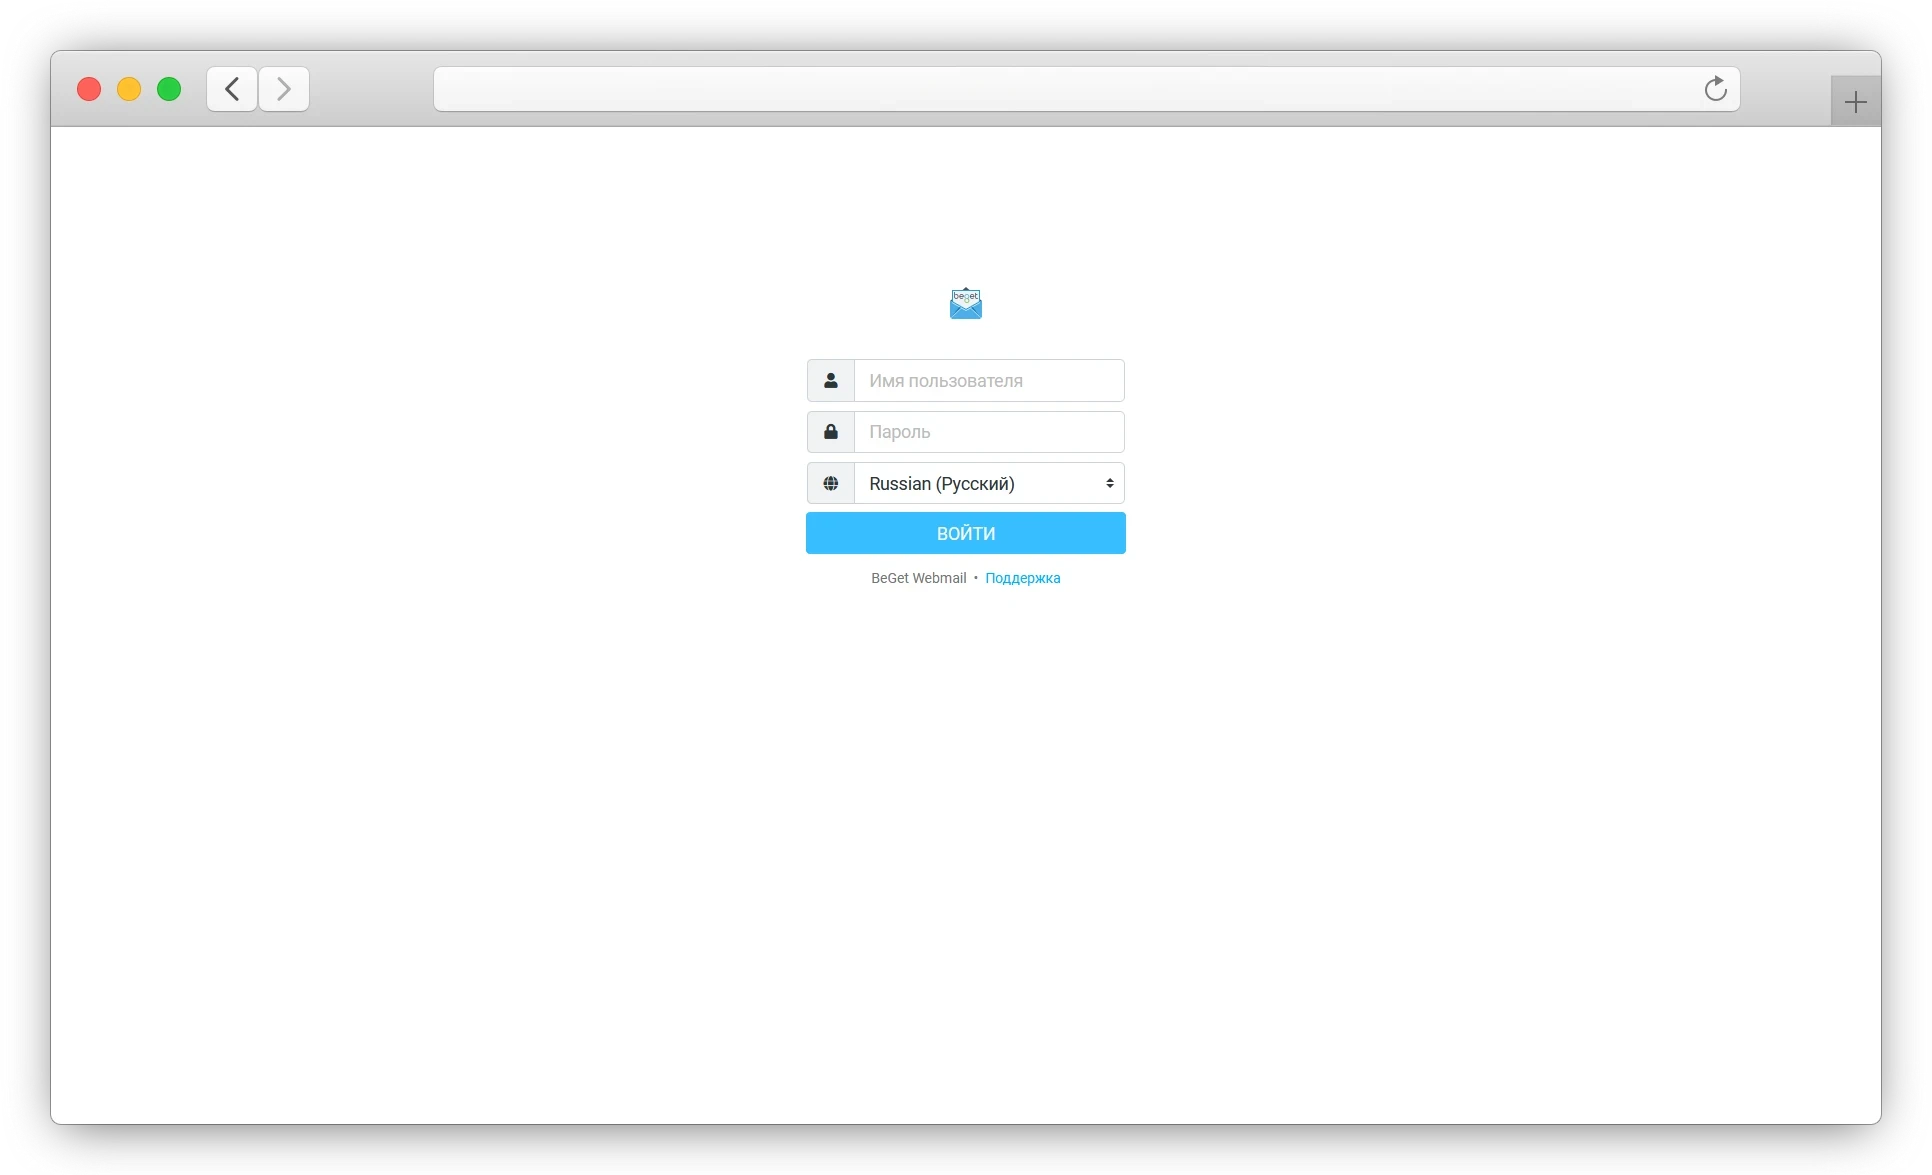
Accessing the mailbox
In order to access the mailbox via the web-browser, you can either click the icon on the right from the desired mailbox in the list or follow the link https://web.beget.email and enter the mailbox credentials to log in. When logging in, please specify the full mailbox name (e. g.
example@betutorial.ru) and the corresponding password.
Setting up a catch-all mailbox for the domain
In case an email gets sent to a mailbox on your domain name that doesn’t exist, it can be forwarded to a special mailbox called “domain mailbox”.
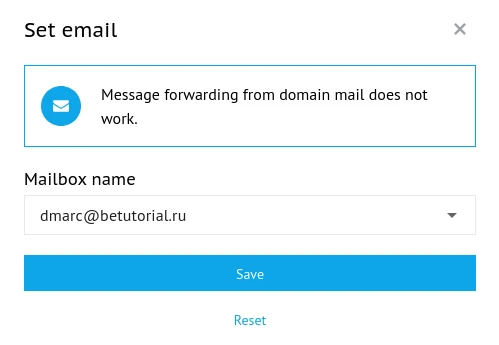
The domain mailbox can be set up on the domain mail settings page below the mailbox creation form. To set it up, click the “Specify the email” link:

A popup will appear, where you can specify the mailbox by selecting it from the drop-down menu. After selecting a mailbox, click “Save”.

The selected mailbox will be displayed below the mailbox creation form.
To change the catch-all settings, click the mailbox name below the mailbox creation form. A menu will open, where you will be able to:
- Change the catch-all mailbox.
- Disable the “domain mailbox” by pressing “Reset”. In this case, emails sent to non-existing mailboxes will be deleted.
Changing the mailbox settings
To edit the mailbox settings, click on its name in the mailbox list.
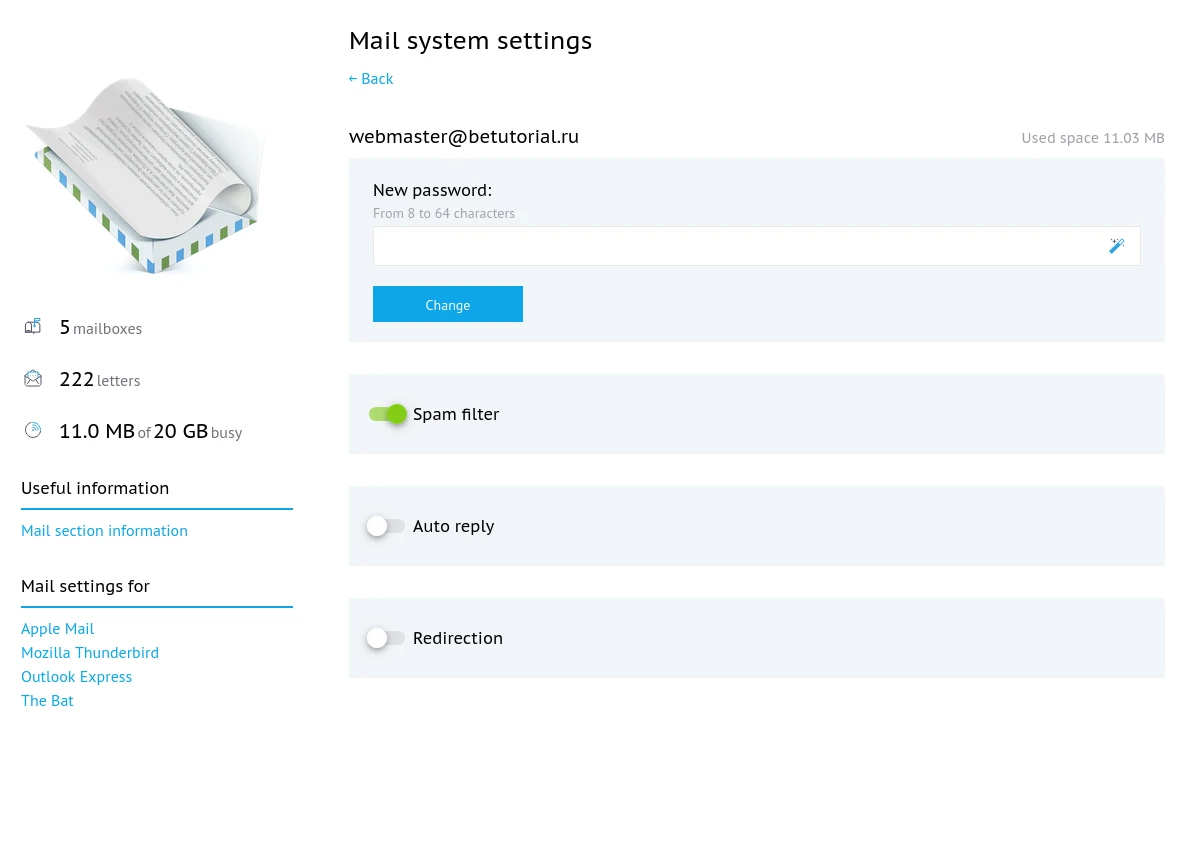
On the settings page, you can see the amount of emails in a mailbox, as well as the disk quota used. Here you can also change the password for the mailbox and manage the spam filter, auto-reply and forwarding settings.
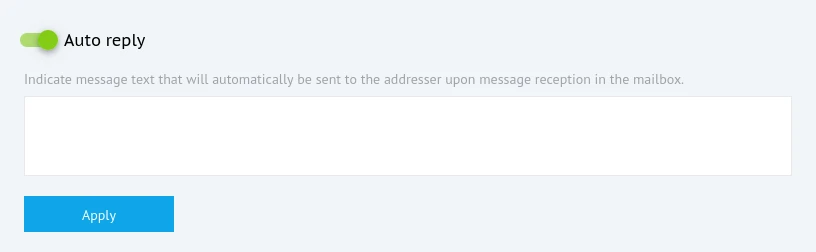
Setting up auto-reply
To set up an auto-reply, enable the option in the mailbox settings, enter the desired message in the text box and click “Apply”.
Setting up mail forwarding
To set up mail forwarding, enable the corresponding switch in the mailbox settings. After enabling the feature, you will be able to change the settings.
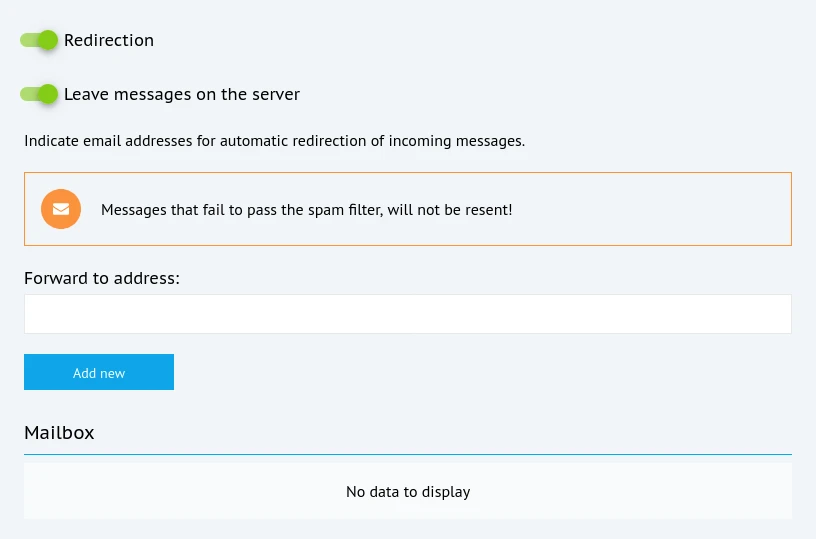
By default, “Leave the messages on the server” switch will be enabled, which means that emails will both be saved inside the mailbox, as well as additionally forwarded to the specified mailboxes. If you disable the switch, emails will be deleted after forwarding.
To add a mailbox to forward emails to, enter the full mailbox name in the corresponding field and press “Add new”.

To disable email forwarding for a mailbox, click the trashcan icon () to the right from the mailbox in the list.
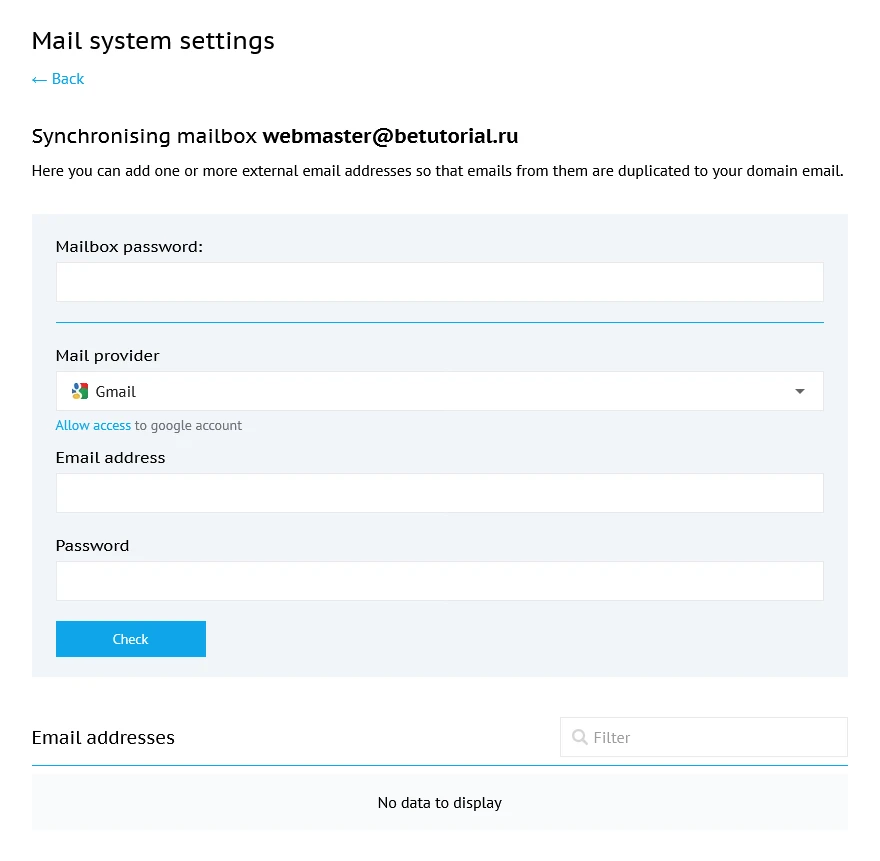
Synchronization
Using this feature, you can easily move existing emails from a different email provider or collect emails from other mailboxes.
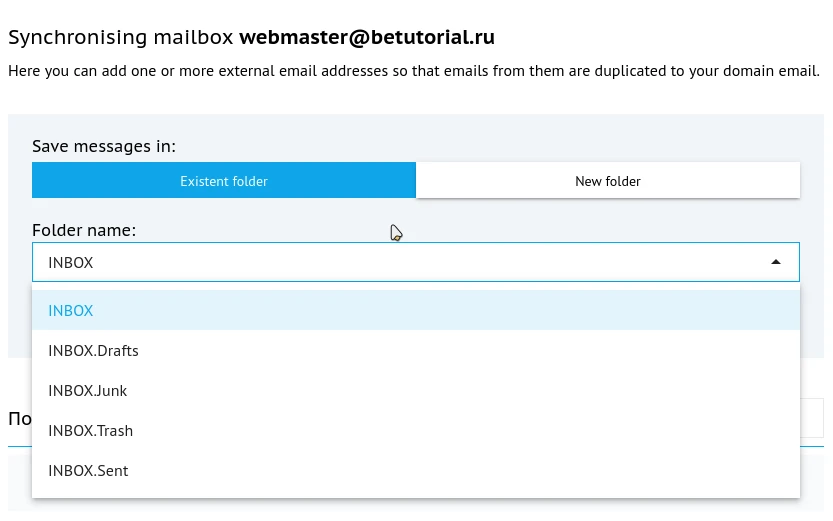
During the setup process, you can choose where to put the messages: into a separate folder or into the mail inbox.
The synchronization process runs every ten minutes until you disable or delete the setting. All passwords are encrypted.
In this article, we covered how to use the mail section of the control panel. You might find articles about other sections useful as well:
If you have any questions, please contact our technical support team via the ticket system (“Support” section of the control panel). Or, if you’d like to discuss this article or our products with other IT specialists or Beget employees, you are welcome to join our Telegram community.